Dial in Your Drop Technique for Improved Flow


Drops Chat
We’re always thinking of ways to progress your riding as well as our own. I was recently helping a rider who was having trouble accessing turns which were preceded by drops. Turns out the rider was Pre-Loading. Pre-Loading is a valid technique when we need distance, but when a turn comes up immediately after a drop, we need to get tires back on the ground quickly and smoothly.
Correct Basic Form For Drops
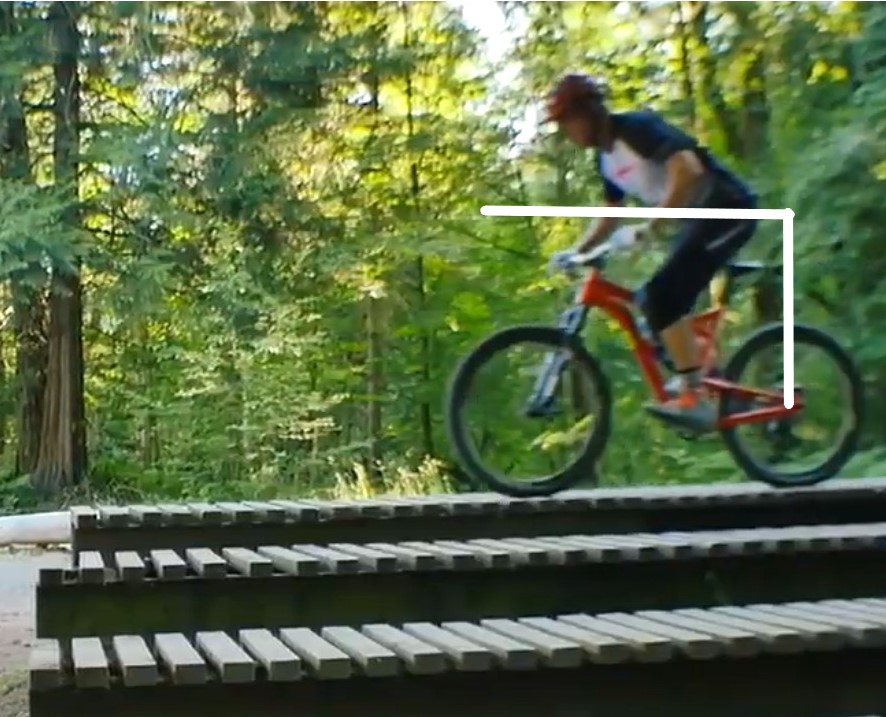
I teach what I call Correct Basic Form for most drops, which is essentially a hip-shift which takes place as the front wheel meets the drop edge. This basic move allows the rider to land smoothly and not get too much distance.
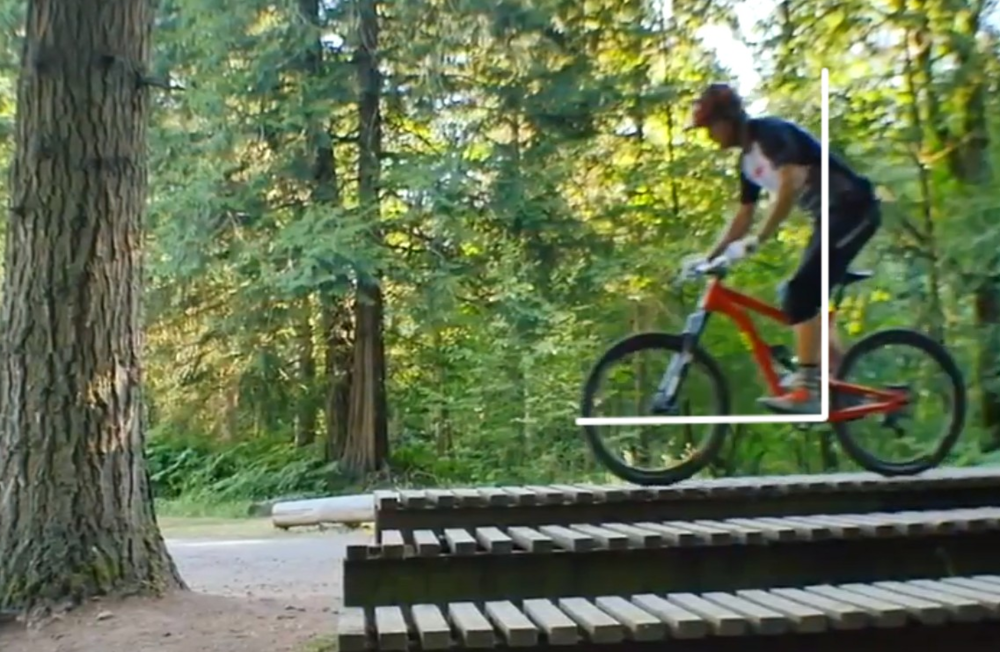
Here I am approaching the edge of a drop.
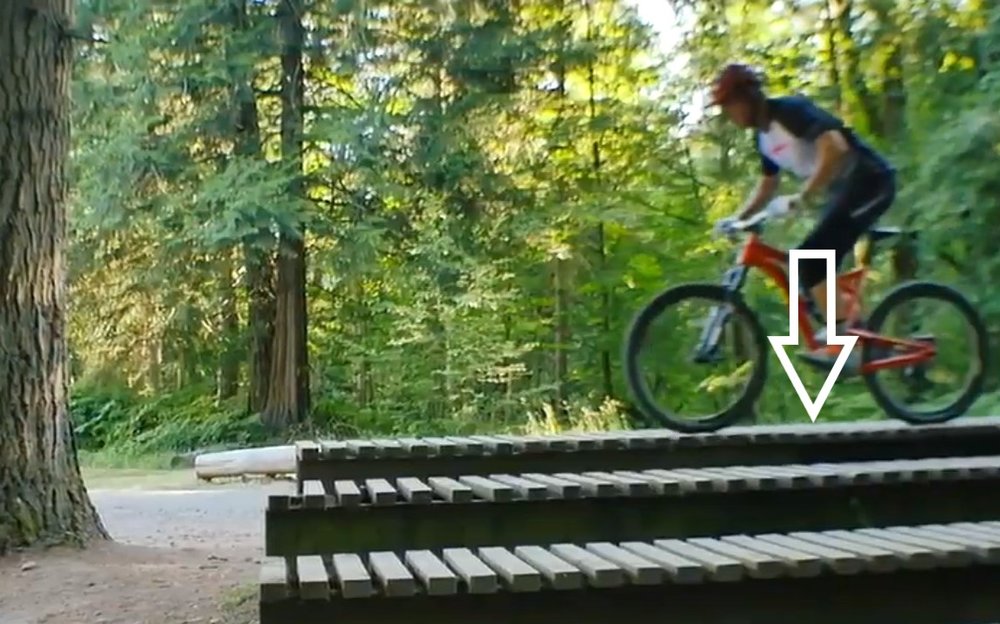
Once from wheel met the edge of the drop my hips shifted rearward.
We also teach what we call “racer style” or “squashing drops” – an advanced offshoot of Correct Basic Form which puts tires to dirt even more quickly. We’ll save that for another day.
Before we move into drops leading into turns let’s take a look at the basics of Correct Basic Form demonstrated at varying speeds in the following video.
Let’s Talk About Pre-Load
While Correct Basic Form is our go to most of the time, sometimes we need distance. We’ll use pre-load when we want to turn a drop into a jump as we would for a step-down, road gap or when we just need to clear something down trail. With pre-load, a rider will load the suspension before take off by pushing down directly through the legs (not the hands) while standing centered over the bottom bracket with knees over toes. Since pre-load makes us go further, it makes it more difficult to access a turn directly following a drop. Pre-load isn’t wrong – it’s situation specific. Knowing when to use it can mean the difference between making a corner after a drop or pulling weeds out of your helmet.
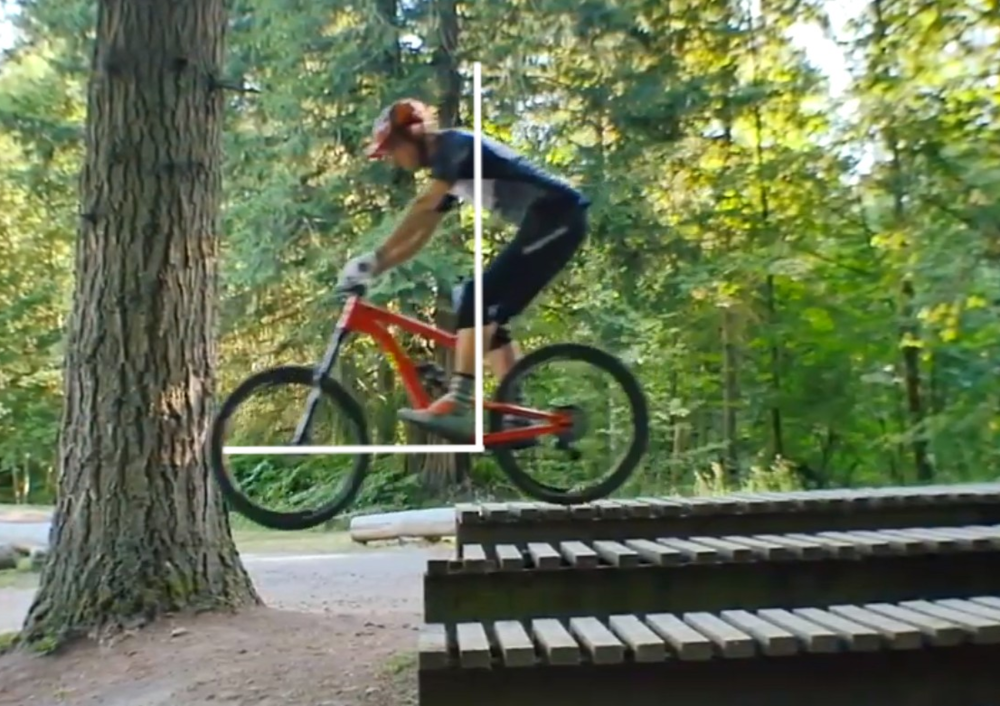
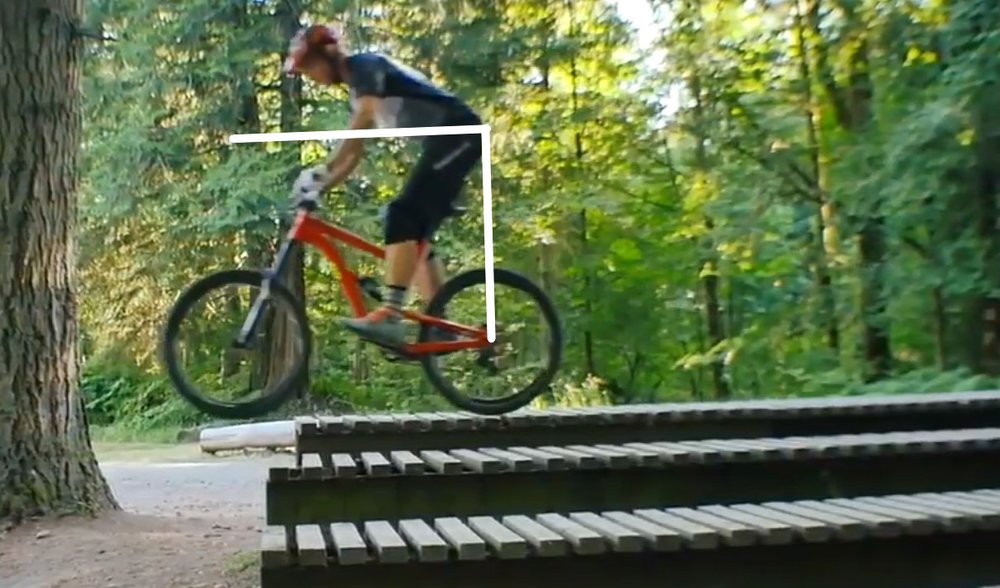
Here I demonstrate pre-load by compressing the suspension as I approach the edge.
I’ve drawn the white lines to help us see the difference in my hip height when I leave the edge of the drop using pre-load.
As I approach the edge you can see how much taller I am when I leave the edge of the drop. I’ll continue on this upward path until gravity takes over and I start to drop to the landing. This might make me miss an upcoming turn, or just have to approach the drop very slowly in order to make the turn.
Dropping Into Turns On The Trail
Once we have Correct Basic Form dialed, we can start practicing creating a turn upon landing. We do this by creating footwork during the compressive phase of the suspension cycle after having used Correct Basic Form, or for more advanced riders at higher speeds, Squashing or Racer Style. Learn more in the video below!
Want to learn this with me in person? Take advantage of our Holiday Sale by signing up for Air 101 for intro to drops and jumping or Air 201 for more advanced drop techniques and gap jumps. All Instruction is currently 10% off when you use the code SAVE10 (ends Dec-31-2018) on our website.
I’ll hope to ride with you in 2019!
Happy Holidays,
-Simon